
Lesson Plan
Review
- Previous week
- Critical think based on previous question
Step 1: Assembling the Racer (40 minutes)
Study the instructions below and put the car together
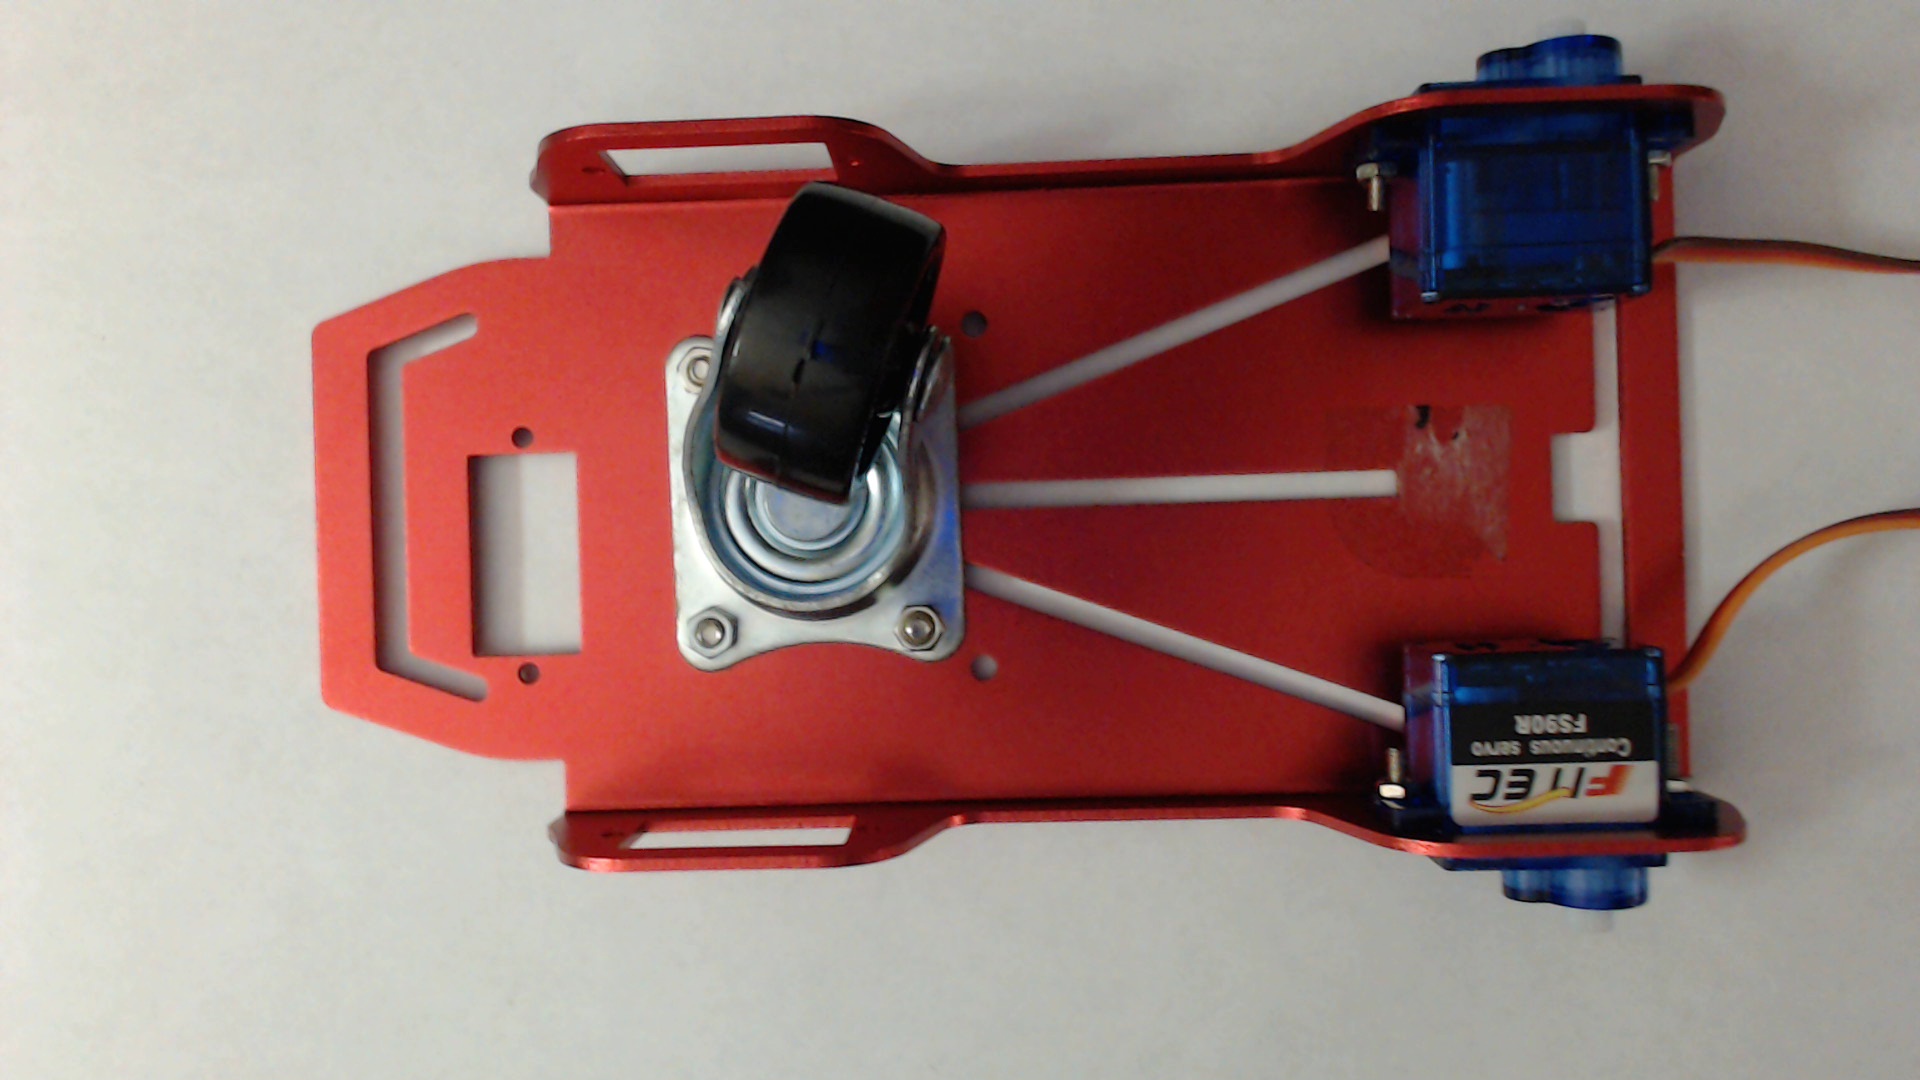
Step 2: Placing the Hardware (15 minutes)
Using your zip ties, tie your hardware down onto the car.
Use the double stick foam tape on the back of the bread board to stick it onto the car chassis

Have the kids work together to build the robot. You can have each kid decide for the team what to build first. Remind everyone that we want to do it together.

REFLECTION
Comprehension
- What are we assessing?
Challenges
- What was hard in today's class?
Enjoyment
- What was fun about today's class?
Mindset
- What did you learn about yourself?
- What would you like to improve?
Community
- How can what you learned impact those around you?
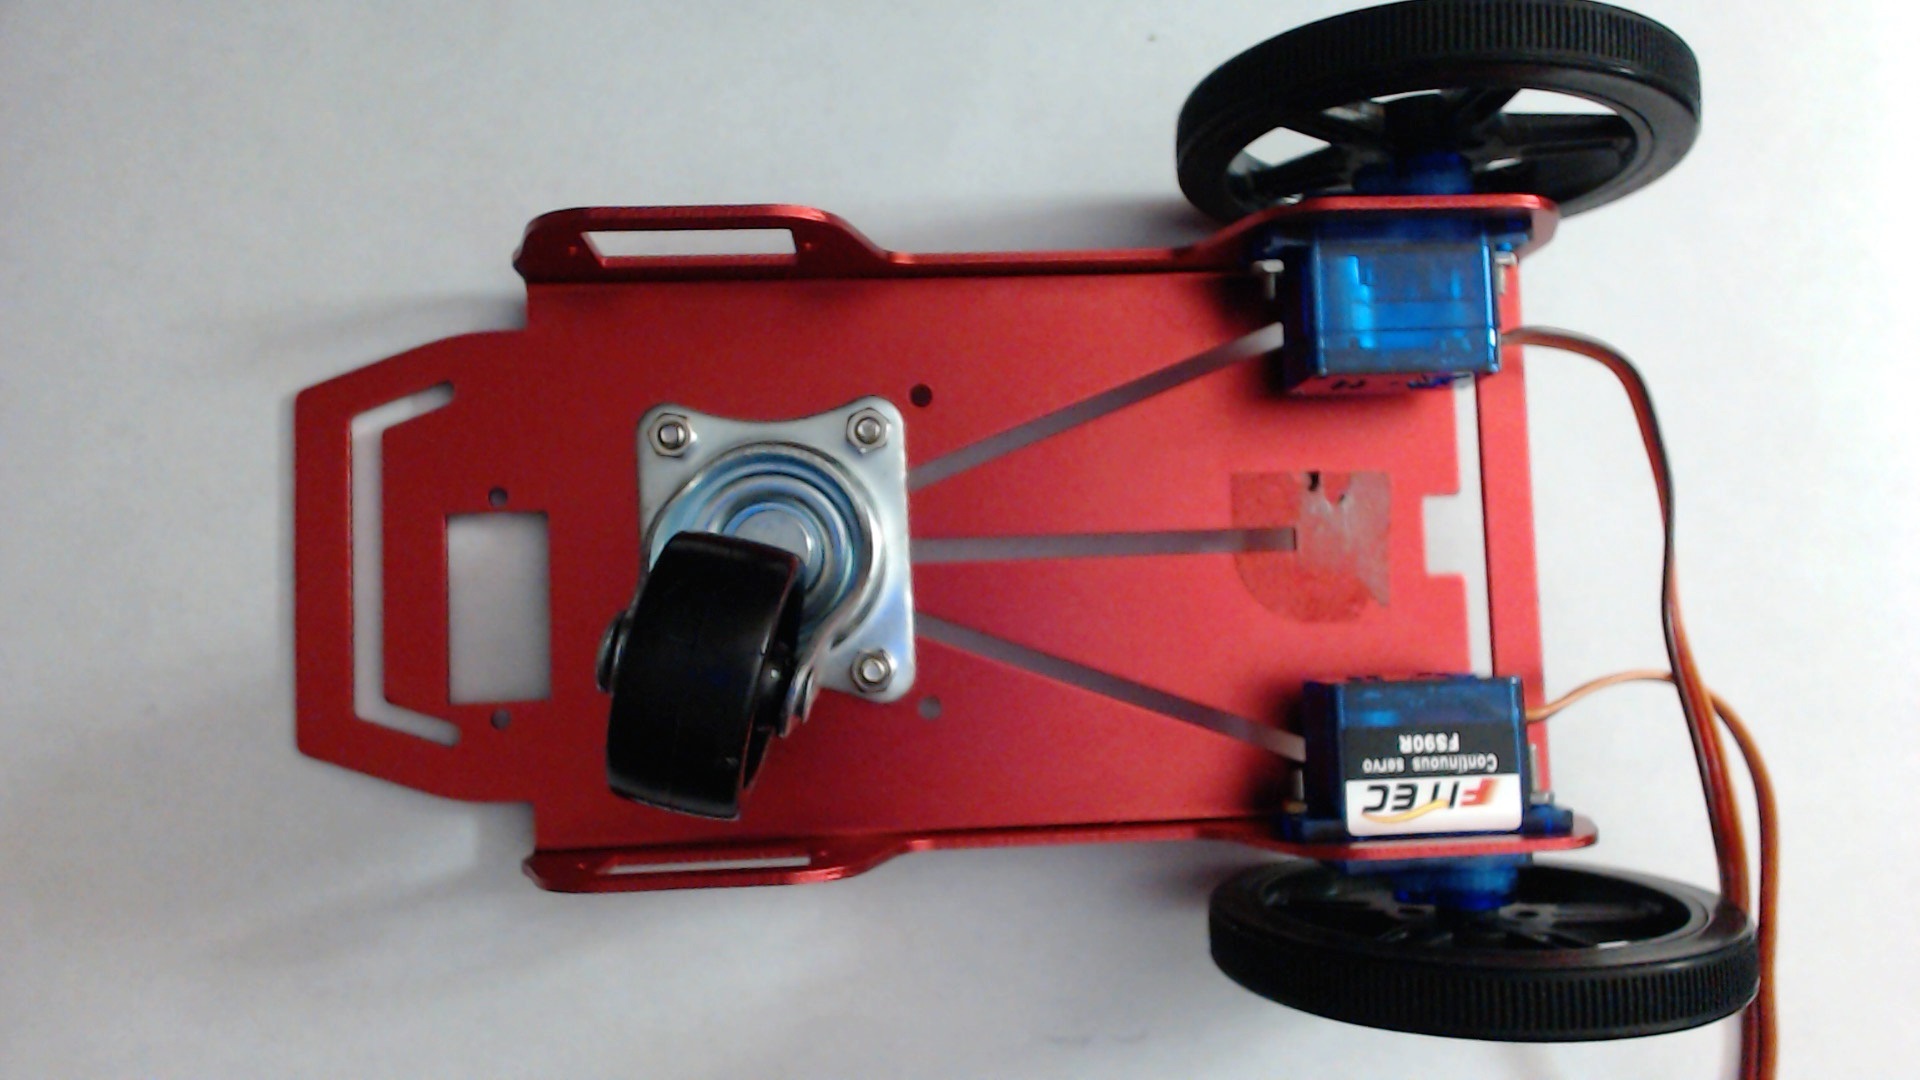 Servo Motors
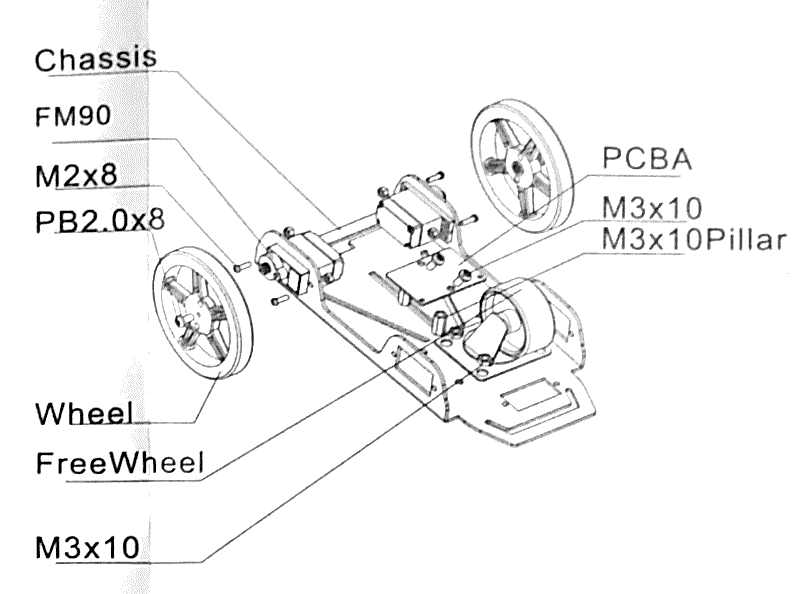 Castor
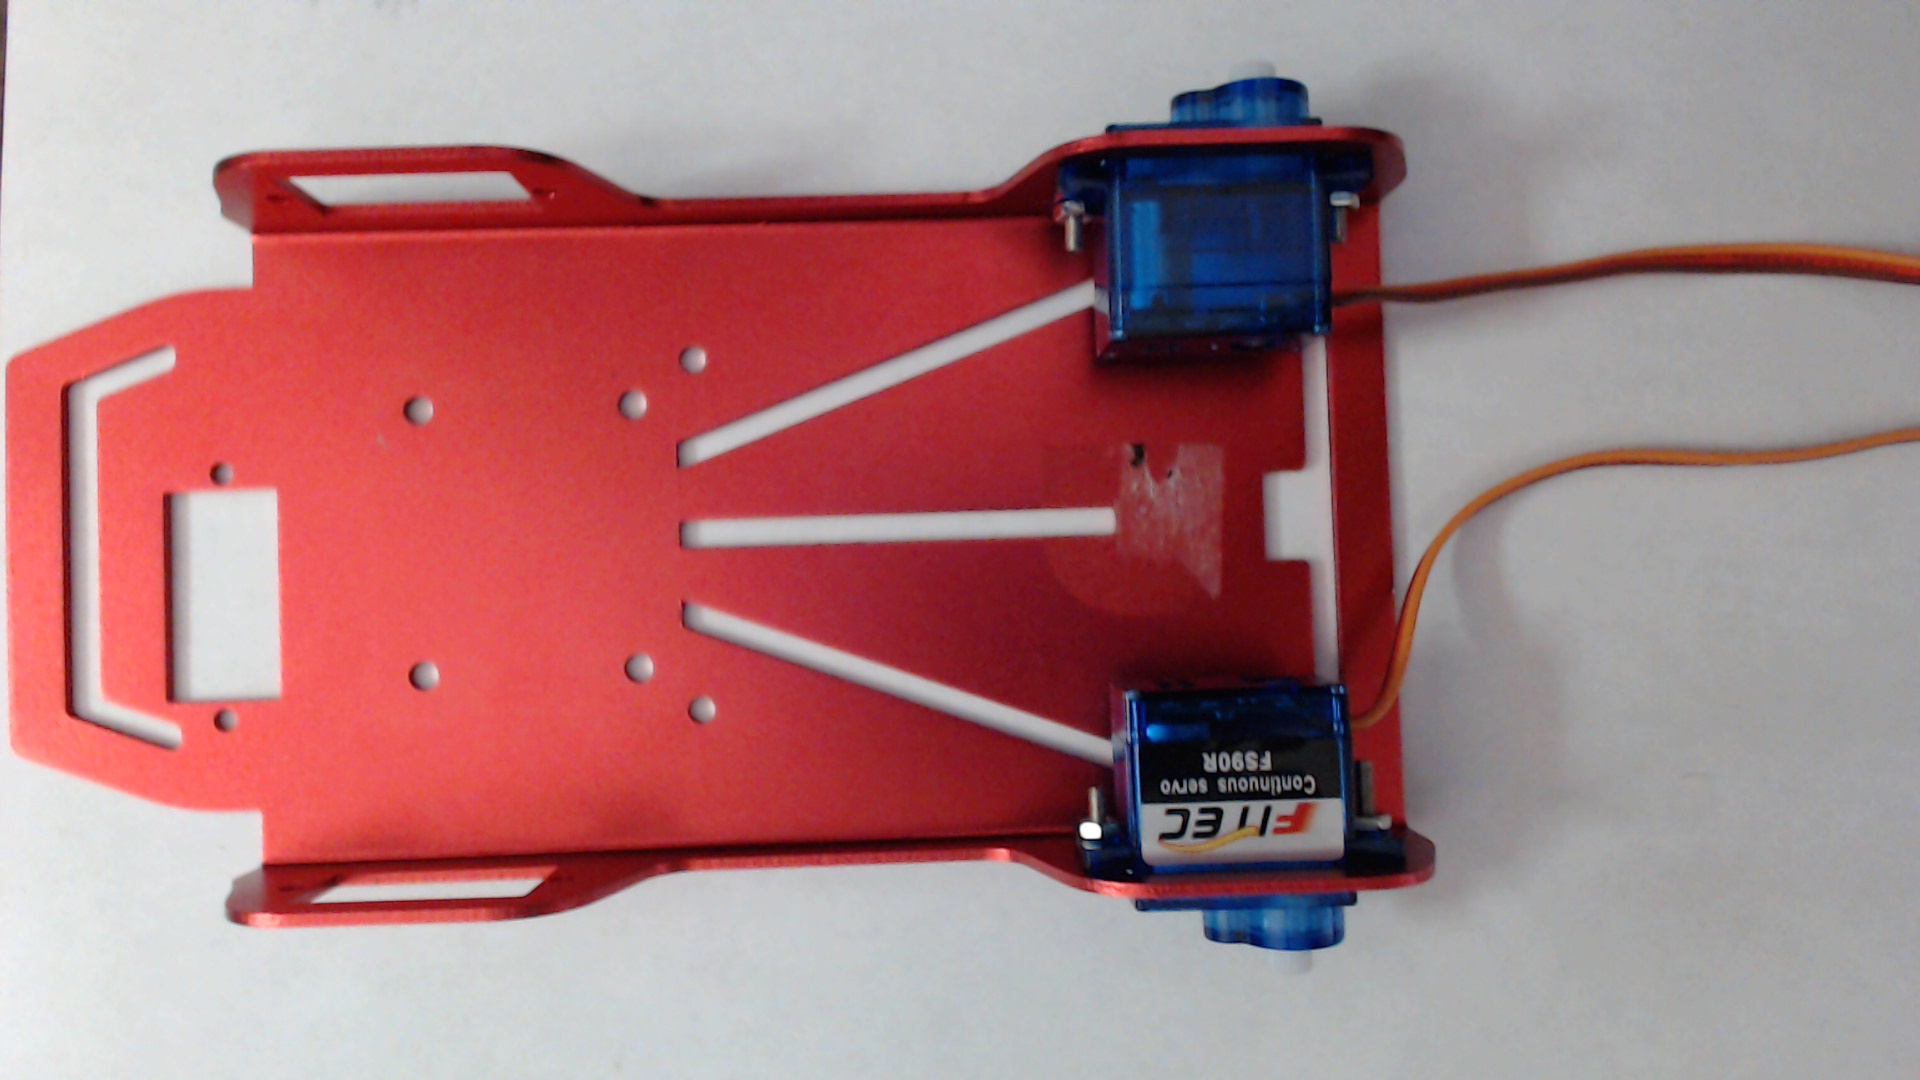 Wheels
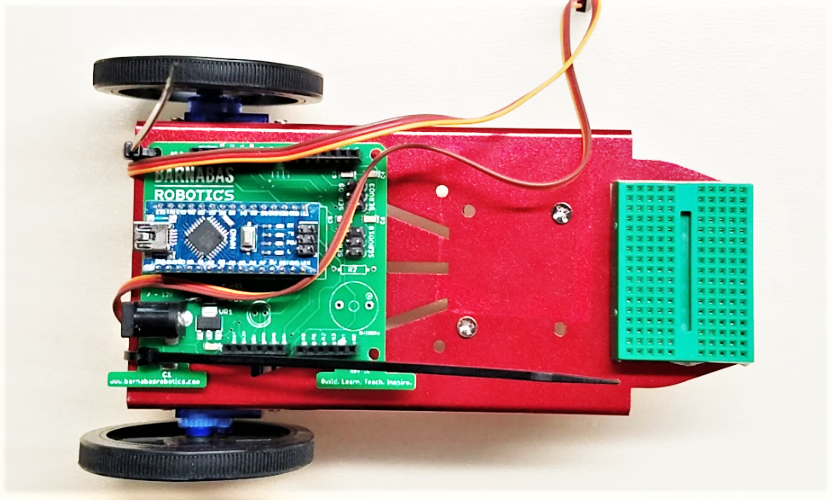 Top View
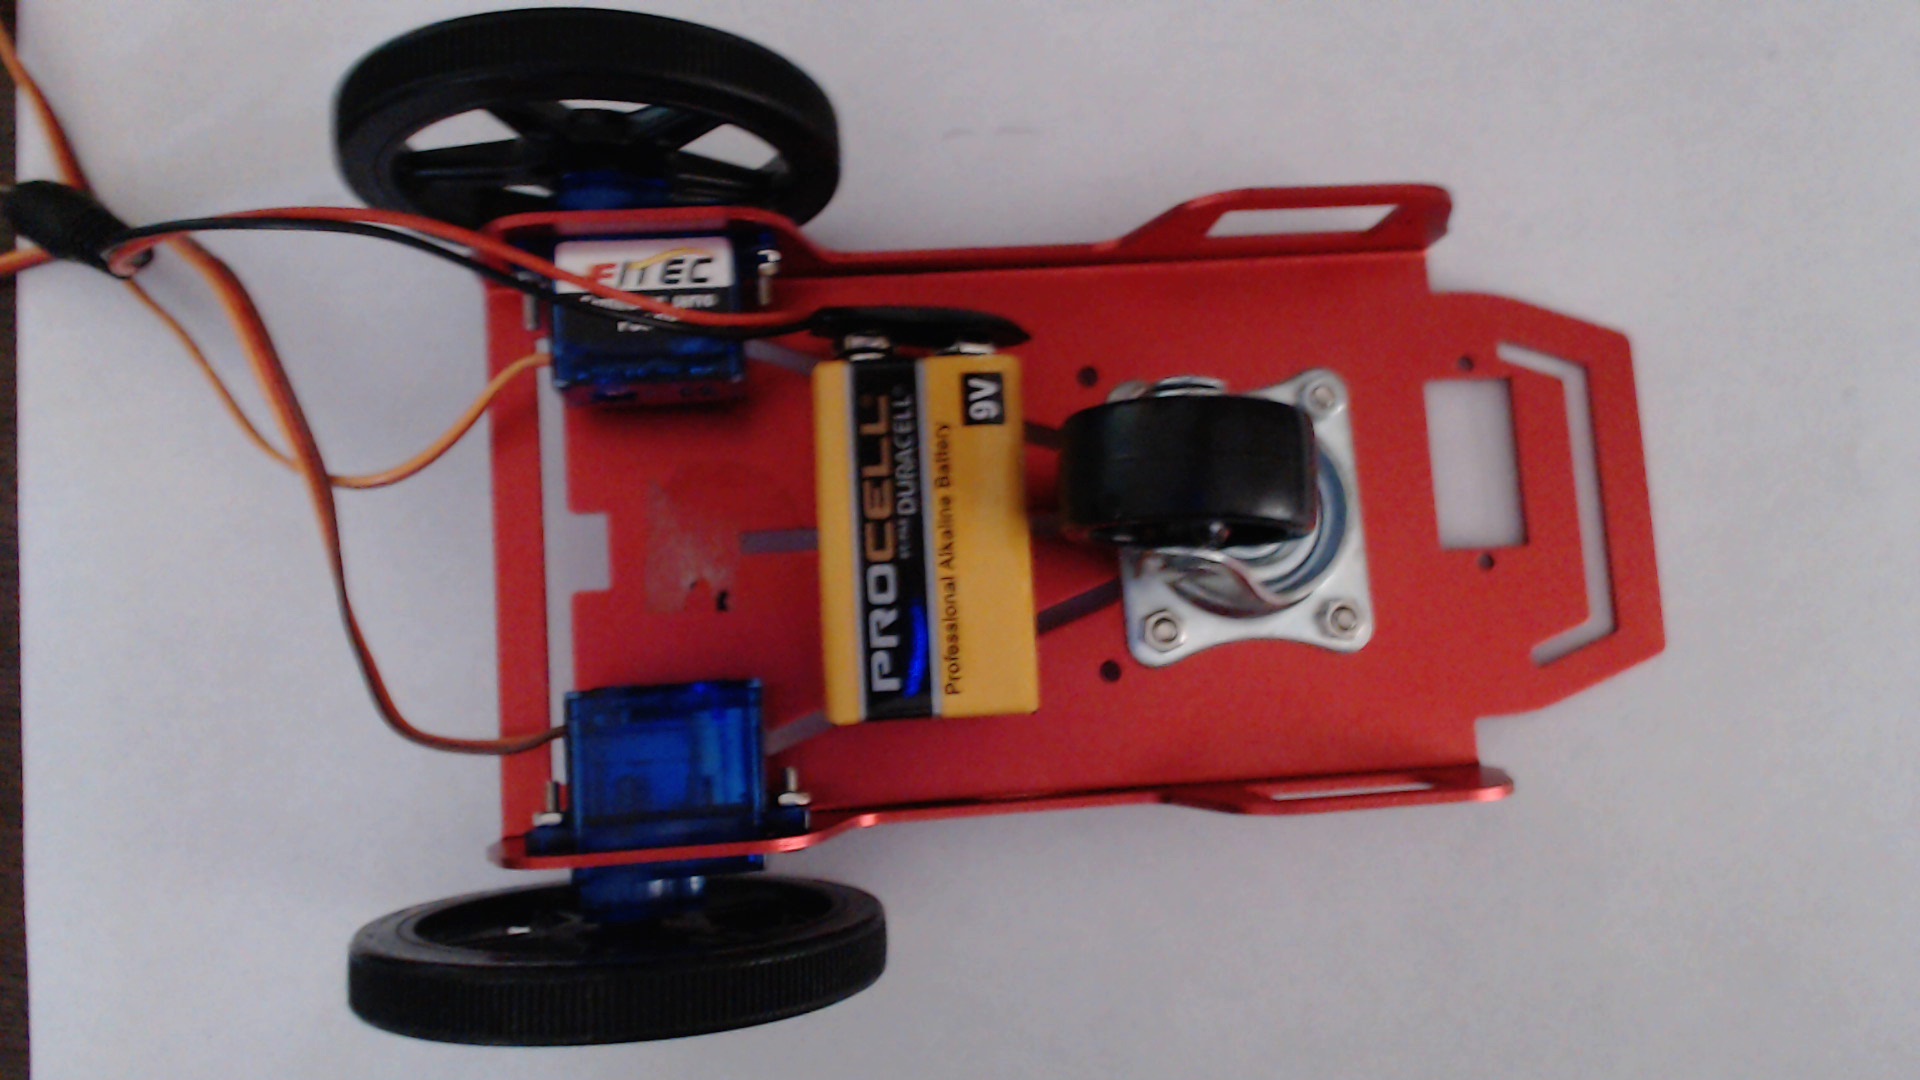 Bottom View